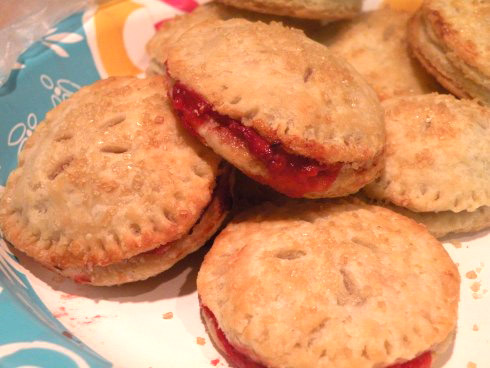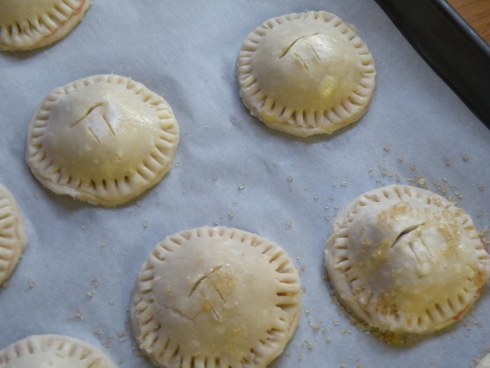
I dread baking during the work week for one simple reason – dishes. I love the baking part, but the aftermath is just so overwhelming when all I want to do is call it a night and go to bed. My M.O. each time I’m in the kitchen is to use as few utensils and cookware as humanly possible. That ceramic ramekin? It only had grapes in it – clean. The stainless steel mixing bowl? It only had some batter in it for like 30 seconds – quick rinse and it’s clean. The spoons – shoot, they just stirred for all of 10 seconds – swipe them under the faucet and they’re as good as new. No dishpan hands here.
This week was one where I had a double dose of pie-making during the work week. Early in the week I needed to make these pielets for my friend – it was her daughter’s birthday on Pi day, so of course she needed to take these pies to her kindergarten class! Then I signed up for the bake sale at work to raise money for a Liver Walk. I’m all for healthy livers, so to show my support I of course offered up some more pies. And of course I tried my hand and venting these pies with a pi symbol.
With a little planning, making pie during a busy work week can be pretty easy and the dishes can be managed in stages – not ending in one big heap at 10pm destined to sit there until Saturday. Here’s a timeline for how to make these pielets and wow anyone, anytime:
3 days ahead: Make your dough, wrap tightly in plastic wrap and place in the refrigerator. Heck, if you’re really good, whip up some dough when the mood strikes and freeze it months ahead of time!
(20 minutes, 4 pieces of a food processor to clean and probably a knife.)
2 days ahead: Make the filling, cover and refrigerate.
(15 minutes, a pot, a spoon and a couple of measuring spoons to clean)
1 day ahead: Roll the dough and cut circles. Place circles on a baking sheet lined with parchment or wax paper, cover with plastic wrap and place in refrigerator.
(25 minutes, a glass, a rolling pin and a messy countertop to clean).
Go time (the night before serving pies): Preheat oven, assemble pies and bake! You should be able to be at the finished product in 30-45 minutes. While they bake, put on your jammies and clean up the kitchen. Remove from oven and cool on a wire rack while you brush your teeth (so you don’t eat any pie). Cover lightly and go to bed. Ta-da! Fancy pies to take to work the next day.

