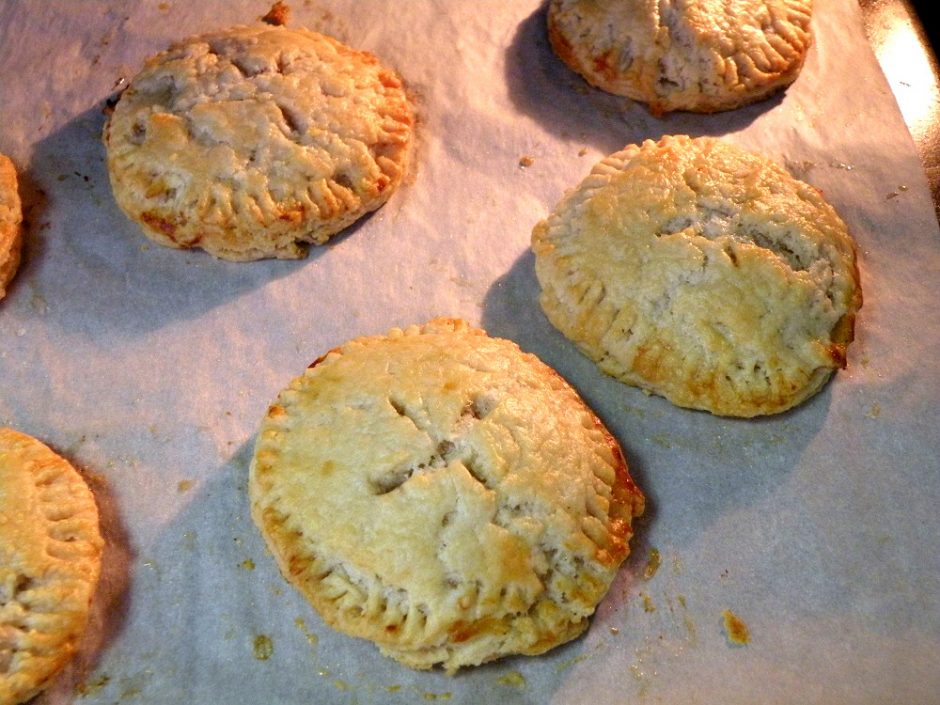
* Update – I made these hand pies again and used a 2 1/2 inch diameter glass to make them a little smaller. This allowed me to get a dozen from 1 recipe of dough and the serving is a little smaller (which means less calories!).
Fall has me feeling like pie (shock, so did spring and summer). My son Elliot has been reminding me all weekend that it is officially Fall and wondering when we can have our first pumpkin pie. I have this weird issue about having pumpkin pie before Thanksgiving. It’s my absolute favorite pie, but I just can’t bring myself to make one if there isn’t turkey on the table. I’m all over anything else that has pumpkin in it – lattes, cookies, bread, pasta – the seasonal eater in me is at her best in the Fall.
With pumpkin in the air and pie on my mind, what’s a girl to do? It’s time to go back to pie-that-isn’t-pie… pumpkin style!
Hand pies – practice makes perfect
When I first started this quest a couple of months ago, I dove right into perfecting the hand pie. They’re such a throw back and with a vanilla glaze, are reminiscent of the Hostess pies I used to eat as a kid. That is, if you make them right. After eleven – yep – ELEVEN attempts, I finally nailed it tonight on my twelfth attempt at perfect hand pies. Here are my lessons learned from the many failed attempts:
All butter isn’t all it’s cracked up to be
I so want to be a believer of all butter crust, but it just has not worked for me with hand pies. Every time I tried, my dainty little pies ended up cooking in a pool of butter on parchment paper. The result was a chewy, inedible crust and a total waste of good filling. So I went out and bought a store bought crust just to see what would happen. Do you know what happened? The most beautiful little hand pies, all crisp, brown and flaky. Why, you ask? All LARD. LARD – the homecoming queen of pie crust. So, I experimented and found that if I increased the shortening, my crust was much better.
Cold, cold and colder
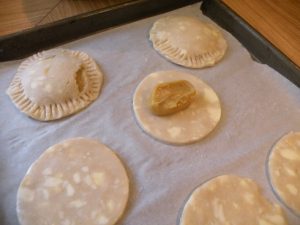
These hand pies are not for the faint of heart or short on time. They take a serious commitment and some preparation. To make a hand pie, take the dough out of the fridge and roll it as if you were rolling a pie and just as thin. Using a round cookie cutter (anywhere from 3 to 5 inches in diameter depending on the finished size you want), cut circles and gently place them onto a baking sheet lined with parchment paper. If you have scraps and need to re-roll them to get more circles, wrap them back up into a disc, cover with plastic wrap in chill in in the fridge for 10 minutes. Once you have cut all of your circles, place them back in the fridge while you make your filling. Once your filling is ready, take the circles out of the fridge and fill your hand pie (instructions to come). Once the pies are sealed and filled, put them back in the fridge (or freezer) for 10-15 minutes. Then, you’re ready to bake them. If you didn’t notice, there’s a lot of fridge time! It’s totally worth it.

Filling is key
I made a mistake early on by making pie filling and putting it uncooked into the hand pies as I would a regular pie. This resulted in an inside crust that seemed under baked. I realized that you need to fully cook your fillings and then bring them to room temperature before filling a hand pie. Once I began to precook my fillings, the pies baked so much better!

The most perfect pumpkin pie bites
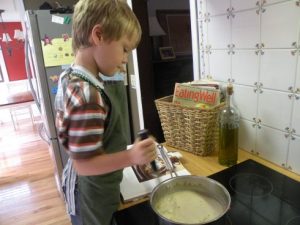
I wanted pumpkin mini pies, but needed to find a way to get a pre-cooked pumpkin pie filling into them. A regular pumpkin custard filling gets 50 minutes to bake and set in the oven. So, with Elliot as my wingman, we devised a fantastic pumpkin filling that is fully cooked on the stove.

Once the filling was room temperature, we set out to fill our pies.
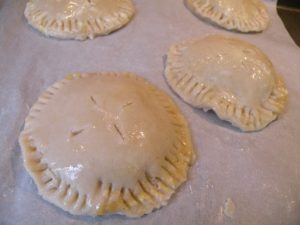
For the past 11 attempts, I have been doing a traditional hand pie shape where you take a 5 inch circle of dough, place filling in the middle, then fold the circle in half to make a crescent, sealing the edges with depressions from a fork. It’s cute, but seeing as though this was my 12th attempt, I wanted to try a new shape. So instead, I made the pies into small circles. The following recipe is now my favorite fall treat!
